Introduction: The Death of the Password
For decades, passwords have been the primary gatekeepers of our digital lives. Yet, they are fundamentally broken. Users choose weak passwords, reuse them across multiple sites, and fall victim to sophisticated phishing attacks.
Even with Multi-Factor Authentication (MFA) like SMS codes or authenticator apps, security remains compromised, and user friction is high.
In 2026, the technology industry has rallied around a permanent, secure, and friction-free alternative: Passkeys.
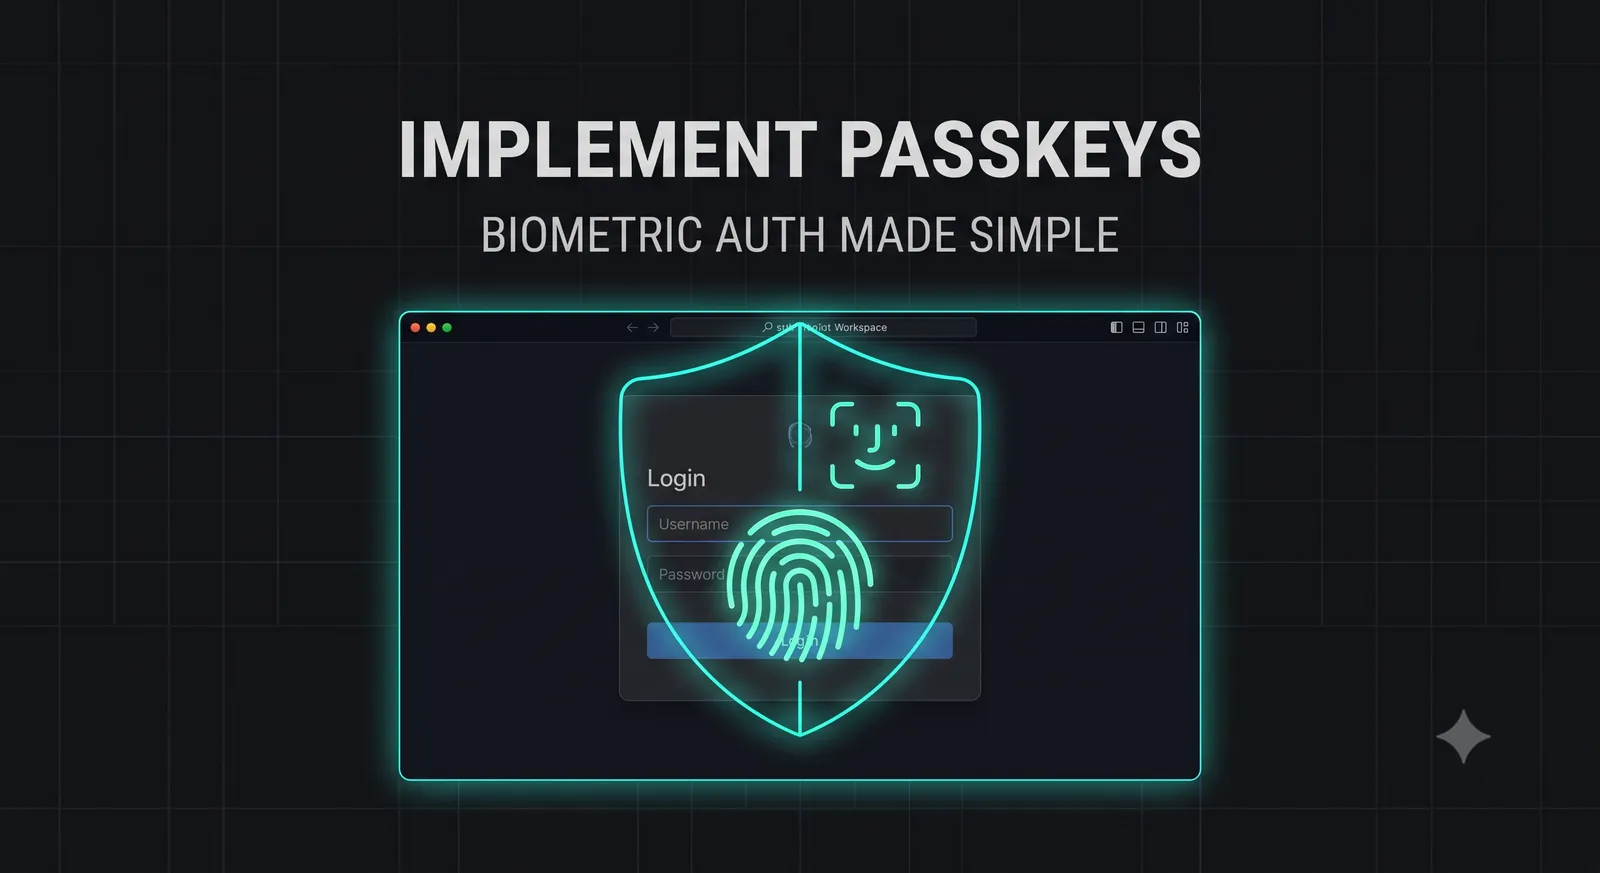
Passkeys replace traditional passwords with cryptographic key pairs, allowing users to log in using their device's native biometric sensors (like Apple's FaceID/TouchID or Android's fingerprint scanners) or hardware security keys (like YubiKeys).
By utilizing the WebAuthn (Web Authentication) API, web developers can implement passkey authentication directly in the browser. This eliminates passwords entirely, blocks 100% of credential-phishing attacks, and reduces login times to under three seconds.
In this comprehensive, step-by-step security guide, we will break down the mechanics of WebAuthn, map out the registration and authentication sequences, and write a complete, production-ready implementation of passkeys for your web application.
What are Passkeys? Cryptographic Security Explained
A Passkey is a digital credential built on the FIDO2 and WebAuthn standards.
Unlike a password, which is a shared secret stored on both the user's mind and the application's database, a passkey relies on asymmetric cryptography:
- The Private Key: Stored securely on the user's local device (inside a secure enclave or hardware chip). It is never shared with the web application, and cannot be extracted.
- The Public Key: Sent to the web application's server during registration and stored in the database. This key is useless to an attacker without the corresponding private key.
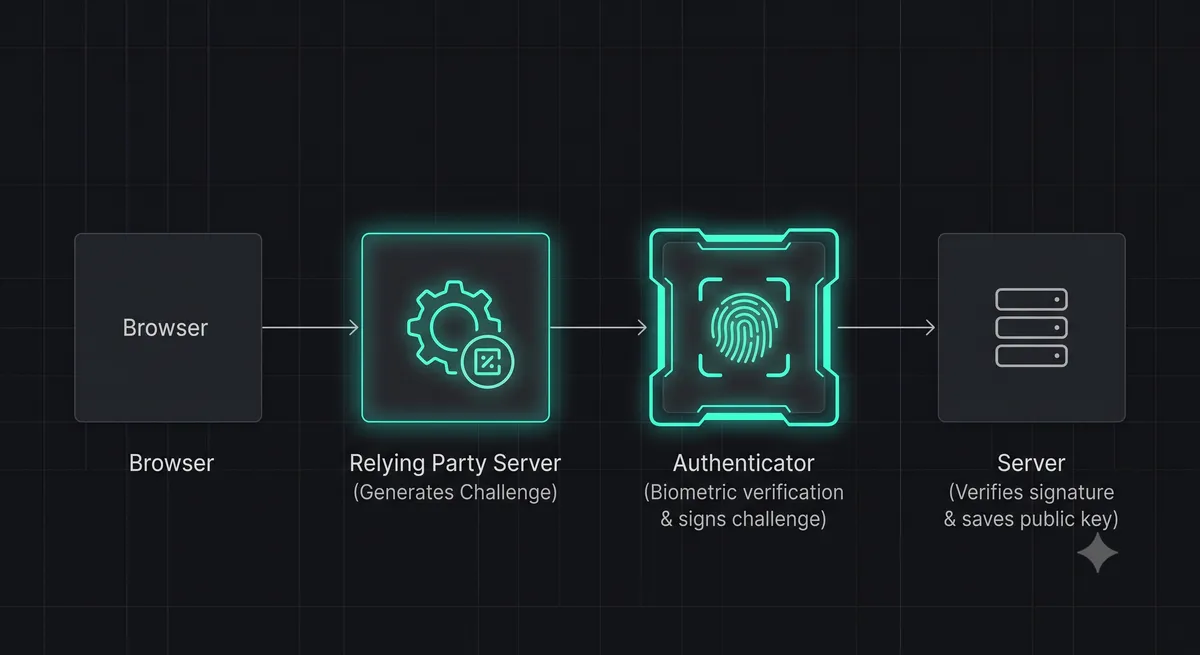
During login, the server sends a cryptographic challenge. The user's device signs this challenge using the private key (authorized via biometrics) and returns the signature. The server verifies the signature using the stored public key.
Because the private key never leaves the user's device, phishing is mathematically impossible. Even if an attacker builds an exact replica of your login page, they cannot intercept or request the passkey signature, because the browser restricts WebAuthn credentials strictly to the origin domain (e.g., the-byte-404.com).
How WebAuthn Works: The Three Actors
The WebAuthn protocol coordinates communication between three distinct actors:
- The Client (Browser): Exposes the JavaScript
navigator.credentialsAPI to coordinate key generation and authentication. - The Authenticator: The hardware or software module that manages the private keys and verifies biometrics (e.g., Apple Secure Enclave, Windows Hello, or a YubiKey).
- The Relying Party (Server): Your backend web server, which generates cryptographic challenges, stores public keys, and verifies signatures.
The Registration Flow: Step-by-Step
Registering a new passkey involves exchanging configuration options and public keys:
- The user clicks "Register Passkey" in your app's settings.
- Your backend server generates a unique, random cryptographic challenge and returns it to the frontend, along with user metadata.
- The frontend calls
navigator.credentials.create()with these options. - The browser prompts the user for biometric verification (e.g., FaceID scanner).
- Upon verification, the authenticator generates a new public/private key pair, signs the challenge, and returns the public key and credential ID to the browser.
- The frontend sends this credential payload to your server, which verifies the signature and saves the public key and credential ID to the user's database record.
The Authentication Flow: Logging In
Logging in with an existing passkey is equally straightforward:
- The user enters their email or clicks a "Sign In with Passkey" button.
- Your server generates a new random challenge and fetches the user's registered credential IDs.
- The frontend calls
navigator.credentials.get()with the challenge and credential list. - The browser prompts the user for biometrics.
- The authenticator signs the challenge using the stored private key and returns the signature to the browser.
- The frontend sends the signature to your server, which verifies it against the stored public key. If valid, a secure user session is initialized.
Full Code Implementation: Frontend & Backend
Let's write a complete, functional implementation of WebAuthn passkey registration using Node.js and client-side JavaScript.
Helper: Encoding Utilities
WebAuthn requires binary data (ArrayBuffer) for challenges and IDs. We must implement utility functions to convert between Base64URL and ArrayBuffers:
// utils/encoding.js
export function bufferToBase64URL(buffer) {
  const bytes = new Uint8Array(buffer);
  let binary = '';
  for (let i = 0; i < bytes.byteLength; i++) {
    binary += String.fromCharCode(bytes[i]);
  }
  return btoa(binary)
    .replace(/\+/g, '-')
    .replace(/\//g, '_')
    .replace(/=/g, '');
}

export function base64URLToBuffer(base64url) {
  const padding = '='.repeat((4 - (base64url.length % 4)) % 4);
  const base64 = (base64url + padding)
    .replace(/-/g, '+')
    .replace(/_/g, '/');
  const binary = atob(base64);
  const buffer = new ArrayBuffer(binary.length);
  const bytes = new Uint8Array(buffer);
  for (let i = 0; i < binary.length; i++) {
    bytes[i] = binary.charCodeAt(i);
  }
  return buffer;
}
Frontend: Triggering Passkey Registration
This client-side script fetches registration options from your API, triggers the biometric prompt, and sends the resulting credential back to the server:
// public/auth.js
import { base64URLToBuffer, bufferToBase64URL } from './utils/encoding.js';

async function registerPasskey(userEmail) {
  try {
    // 1. Fetch registration options from backend
    const response = await fetch('/api/register/options', {
      method: 'POST',
      headers: { 'Content-Type': 'application/json' },
      body: JSON.stringify({ email: userEmail })
    });
    const options = await response.json();

    // Convert Base64URL strings back to binary ArrayBuffers
    options.challenge = base64URLToBuffer(options.challenge);
    options.user.id = base64URLToBuffer(options.user.id);

    // 2. Trigger biometric prompt in browser
    const credential = await navigator.credentials.create({
      publicKey: options
    });

    // 3. Format credential payload for server transmission
    const credentialPayload = {
      id: credential.id,
      rawId: bufferToBase64URL(credential.rawId),
      type: credential.type,
      response: {
        clientDataJSON: bufferToBase64URL(credential.response.clientDataJSON),
        attestationObject: bufferToBase64URL(credential.response.attestationObject)
      }
    };

    // 4. Send credential to server for verification and storage
    const verifyResponse = await fetch('/api/register/verify', {
      method: 'POST',
      headers: { 'Content-Type': 'application/json' },
      body: JSON.stringify({ email: userEmail, credential: credentialPayload })
    });
    const result = await verifyResponse.json();

    if (result.success) {
      console.log('Passkey registered successfully!');
    } else {
      console.error('Passkey verification failed:', result.message);
    }
  } catch (error) {
    console.error('Registration process failed:', error.message);
  }
}
Backend: Verifying and Storing Public Keys
Using the popular, open-source @simplewebauthn/server package, your backend verifies the cryptographic signature generated by the authenticator:
// server.js
import express from 'express';
import { generateRegistrationOptions, verifyRegistrationResponse } from '@simplewebauthn/server';

const app = express();
app.use(express.json());

// In-memory mock database
const db = {
  users: {},
  challenges: {}
};

const rpID = 'the-byte-404.com';
const expectedOrigin = 'https://the-byte-404.com';

// Endpoint 1: Generate Registration Options
app.post('/api/register/options', async (req, res) => {
  const { email } = req.body;

  const options = await generateRegistrationOptions({
    rpName: 'The Byte 404',
    rpID,
    userID: email,
    userName: email,
    attestationType: 'none',
    authenticatorSelection: {
      residentKey: 'required',
      userVerification: 'preferred'
    }
  });

  // Save challenge to verify it in the next step
  db.challenges[email] = options.challenge;

  res.json(options);
});

// Endpoint 2: Verify Registration Response
app.post('/api/register/verify', async (req, res) => {
  const { email, credential } = req.body;
  const expectedChallenge = db.challenges[email];

  try {
    const verification = await verifyRegistrationResponse({
      response: credential,
      expectedChallenge,
      expectedOrigin,
      expectedRPID: rpID
    });

    if (verification.verified && verification.registrationInfo) {
      const { credentialPublicKey, credentialID, counter } = verification.registrationInfo;

      // Save public key and ID to database
      db.users[email] = {
        credentialID: Buffer.from(credentialID).toString('base64'),
        publicKey: Buffer.from(credentialPublicKey).toString('base64'),
        counter
      };

      delete db.challenges[email]; // Clear challenge
      res.json({ success: true });
    } else {
      res.status(400).json({ success: false, message: 'Verification failed' });
    }
  } catch (error) {
    res.status(500).json({ success: false, message: error.message });
  }
});
UX Best Practices & Fallback Strategies
While passkeys are incredibly secure, you must design a smooth user experience that accommodates older devices and user confusion:
- Support Hybrid Authentication: If a user registers a passkey on their phone but attempts to log in on a desktop computer without a webcam, WebAuthn supports showing a QR code. The user scans the QR code with their phone to authorize the login securely via Bluetooth.
- Provide Password Fallbacks: Never remove password login entirely on day one. Offer passkeys as an "opt-in" upgrade in user settings. Label it clearly: "Enable Biometric Login (FaceID / TouchID)".
- Detect WebAuthn Support: Before displaying passkey options, check if the user's browser supports WebAuthn:
if (window.PublicKeyCredential &&
    PublicKeyCredential.isUserVerifyingPlatformAuthenticatorAvailable) {
  const available = await PublicKeyCredential.isUserVerifyingPlatformAuthenticatorAvailable();
  if (available) {
    // Show "Register Passkey" buttons
  }
}
Conclusion: Secure Your Users Today
Passkeys represent the single biggest leap forward in web application security and user experience in a generation. By replacing easily phished passwords with secure, device-bound cryptographic key pairs, you can protect your users and your business from data breaches.
With modern libraries like SimpleWebAuthn, implementing passkeys is no longer a complex cryptographic nightmare. It is a straightforward engineering task that can be completed in a few hours.
To learn more about securing your backend APIs, read our guide on Zero Trust Node.js Security, or use our interactive JSON Formatter & Validator to verify your WebAuthn API payloads.